

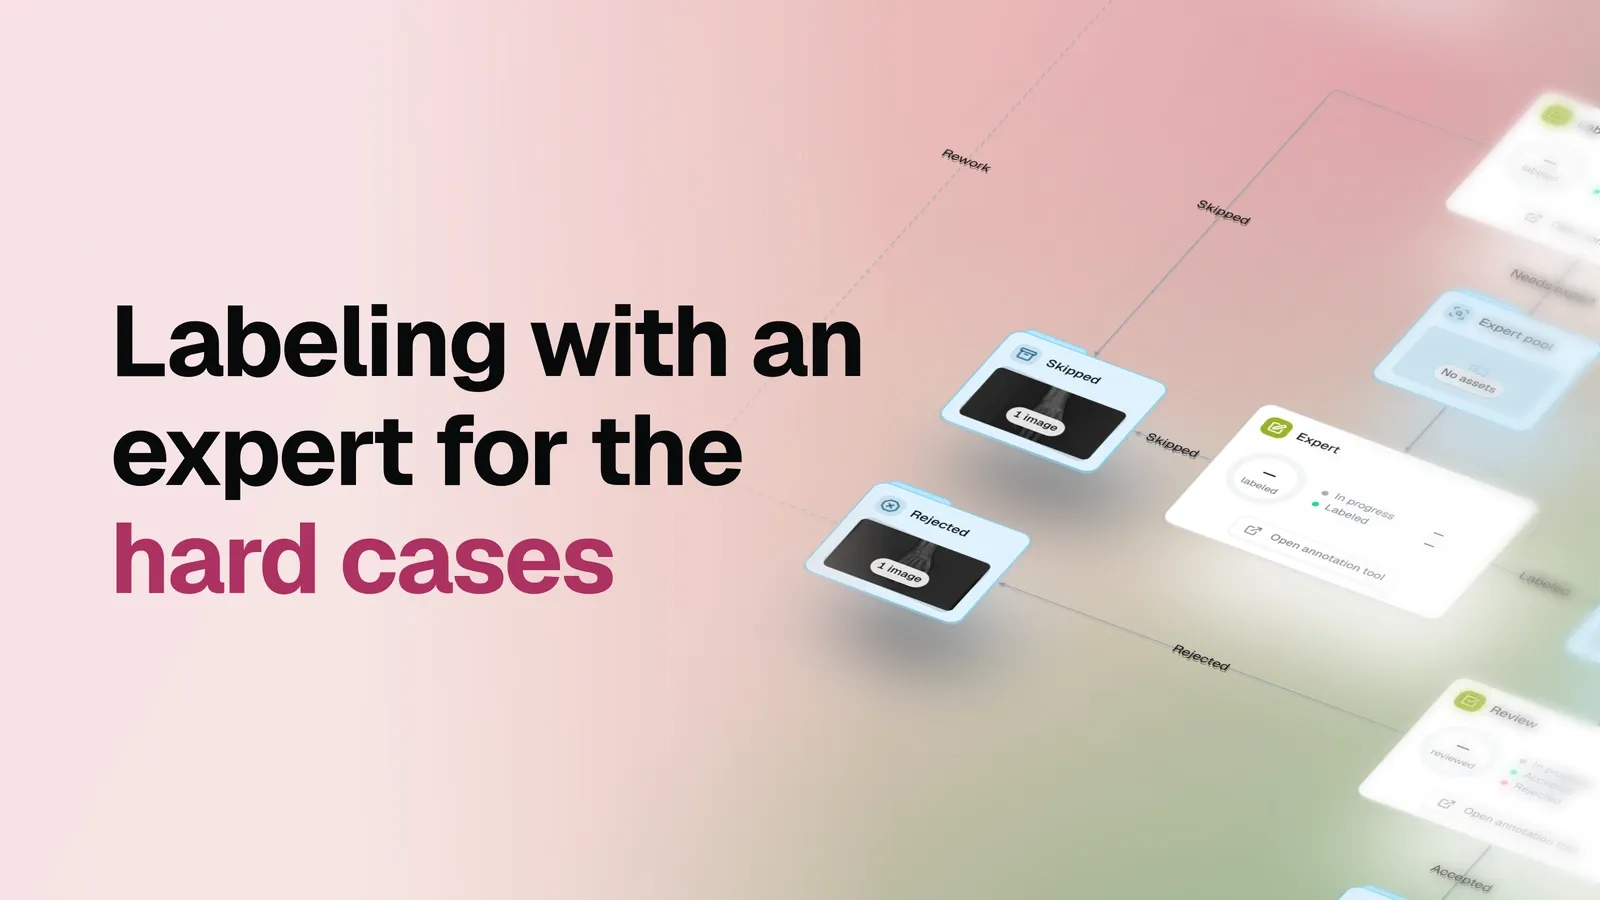
The task
In this guide, we label X-rays of the human body and limbs for a downstream fracture detection model. Most images are routine to annotate. A smaller share show a complex or ambiguous finding that needs a specialist’s judgment.
Sending every image to the specialist wastes their time and the project’s budget. Leaving the hard cases with a general labeler risks a weak annotation exactly where it matters most. This workflow lets the labeler decide, image by image, what deserves the expert, and puts every annotation through the same final review.
It suits medical imaging and radiology AI teams, annotation leads at hospitals and research institutions, and any team where a few people know the domain much better than the rest. There is no pre-labeling model: people draw the annotations, and the flow moves every image to its next step.
Source dataset
This example uses a subset of the FracAtlas dataset, available through Dataset Ninja, with one annotation class,
fractured. A production project can define a more detailed taxonomy to match its clinical protocol.
One flow, every image in a clear state
Each image always sits in exactly one dataset, so its state is visible on the canvas:
| Dataset | What it holds |
|---|---|
| Labeling pool | Images waiting to be claimed for labeling or correction |
| Expert pool | Hard images a labeler sent to the expert |
| Review pool | Labeled images waiting for a reviewer |
| Skipped | Images a labeler or the expert set aside as unsuitable |
| Rejected | Rejected images on their way back to the pool |
| Accepted | Images that passed review, ready for downstream work |
Three stages do the work: Labeling, where labelers draw the routine annotations, Expert, where
the specialist handles the hard cases, and Review, where a reviewer accepts or rejects every
annotation. A Return to labeling step closes the loop.
Set it up in three questions
When you create a flow from the template, a short setup asks three things:
- What will you label? Pick the classes and tags.
ExpertandReviewreuse the same ones. - Who does the work? Choose the labelers, the experts and the reviewers. Everyone gets their own queue, and one person can hold more than one role on a small team.
- Where are the images? Pick the dataset with your images. If they are not in OvalBee yet, bring them in with an import template first.
Everything else is already wired: the escalation route, the outcome datasets, the review gate, and the route that sends rejected work back to the pool.
Small batches for every stage
Batch size is set separately in Labeling, Expert and Review, under Queue limits. It
controls how many available images one person claims at once when they open the annotation tool
for that stage. In the live example, every stage hands out batches of 10.
Small batches keep one person from reserving the whole queue, so several labelers can work in
parallel and the expert gets new cases as soon as they are escalated. If a claimed batch is
abandoned, Return unclaimed work after releases it after 120 minutes.
Label the routine cases, escalate the hard ones
Labeling claims a batch from the Labeling pool. Click Open annotation tool on the node to
open it. For each X-ray, the labeler presses one of three buttons:
Submitsends the image and its annotation to theReview pool;Ask expertsends it to theExpert poolwhen they are not confident in the call;Skipkeeps an unsuitable image inSkipped, outside the accepted path.
Most of the pool never needs a specialist. The two X-rays below were annotated by the labeler and submitted straight to review: one box each, drawn where the finding is plain enough that a second opinion would add nothing.
Ask expert is the decision that protects the specialist’s time, and it costs nothing to make. It
comes from the person already looking at the image, at the moment they realize the call is beyond
them. A labeler can draw what they are sure of and let the expert finish it, or hand the image over
untouched when a first pass would only be guesswork.
The two X-rays below went to the Expert pool: the labeler opened each one, was not confident in
the call, and asked the expert rather than guessing.
The expert labels, not reviews
Expert works from the Expert pool with the same classes and the same annotation tool. It is a
labeling stage in its own right, not a review of the first labeler’s work. The specialist finishes
a partial annotation, corrects it, or draws the whole thing, then presses Submit to send the
image to the Review pool, or Skip if it does not belong in this pass.
That distinction matters for how you staff the loop. The expert does not check anyone’s work as a matter of routine. They do the part of the labeling that only they can do.
One review for every path
Labelers and the expert feed the same Review pool. Review is the only stage that decides
acceptance: Accept moves the image and its annotation to Accepted, and Reject moves them to
Rejected.
Concentrating that decision in one place keeps the acceptance rule consistent whatever path an image took. An annotation that came through the expert is held to the same standard as one that came straight from labeling.
Rejection is a statement about the annotation, not about the radiograph: the work needs another
pass, not that the image shows no fracture. Return to labeling moves rejected work back to the
Labeling pool, where it re-enters the same route as everything else. The reviewer does not have to
message anyone or copy files, and rejected work never mixes with accepted output.
The result
The team gets a dataset of accepted X-rays with their annotations, ready for model training. The specialist annotates only the cases the labelers send them, and everything else reaches review at ordinary cost. Without an expert in the loop the difficult findings get guessed at; with the expert on every image you pay specialist rates for work a trained labeler handles well. This flow splits the difference, and moves every image between people, queues, and correction rounds on its own.